Plusmark

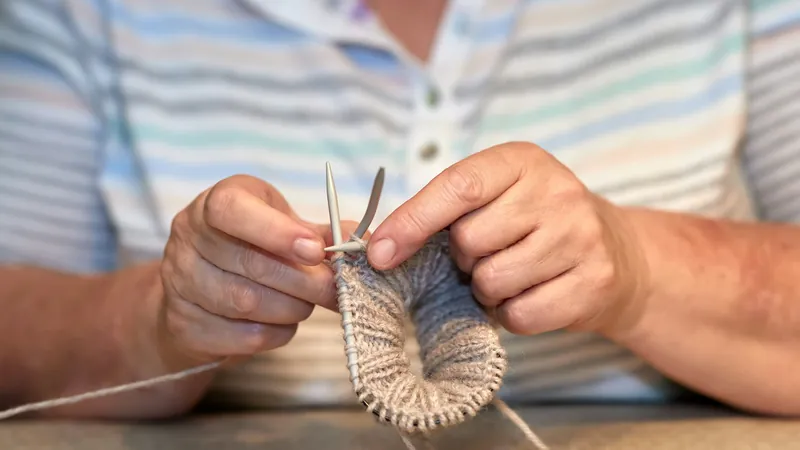
To count rows in stockinette, count the Vs in one column on the knit side, from just above the cast-on edge up to the needle, and add one for the stitches on the needle. In garter stitch, count the ridges instead: each ridge is two rows. That's most of it. Below: how to see the stitches clearly, what to do with the cast-on, how markers save you from ever counting more than ten rows at once, and when to count as you go rather than after.
The short version
- Stockinette: one V in a column is one row. Don't count the cast-on; do count the stitches on the needle.
- Garter: one ridge is two rows. Count the ridges and double them, or count both sides and add.
- Mark every 10 rows with a removable marker, so you only ever count from the last one.
- Count as you go and check after. A counter tells you where you are; the fabric proves it.
Stockinette: count the Vs
On the knit side of stockinette, every stitch looks like a little V, and the Vs stack up in neat columns. Each V in a column is one row. Pick a column near the middle of the piece, away from the edge stitches and any increases or decreases, and count the Vs from the bottom up.
- Leave out the cast-on. The cast-on edge isn't usually counted as a row of knitting.
- Count the needle. The stitches on your needle are a row too. If you count 8 Vs below the needle, you've worked 9 rows, and the next one is row 10.
- Use a pointer if the Vs blur. Running a blunt tapestry needle up the column, one V at a time, helps a lot with dark, fuzzy or fine yarn.
For reverse stockinette, where the bumpy purl side faces out, turn the work over and count the Vs on the back. Knitting in the round? Each round counts just like a row, and the Vs are on the outside all the way round.
Garter stitch: count the ridges
Garter stitch has no Vs, only rows of horizontal ridges. Each ridge you see on one side is two rows of knitting. You can count the ridges on the front and double the number, or count the ridges on the front and the back separately and add the two together.
Knit Picks suggests marking the right side of the fabric when you start, with a safety pin or a scrap of yarn, because garter looks the same on both sides. With the right side marked, you always know which way you're looking and whether you're on an odd or even row.
Ribbing, cables and textured stitches
- Ribbing: count the Vs up one of the knit columns, the same as stockinette.
- Cables: clip a marker onto one of the cable stitches on the row you cross it. Then count the rows up from that marker to the next cross, instead of hunting for the twist.
- Lace and textured patterns: these can be hard to read stitch by stitch. Mark a known row and count up from there, or count pattern repeats and multiply by the rows in each repeat.
Mark every 10 rows
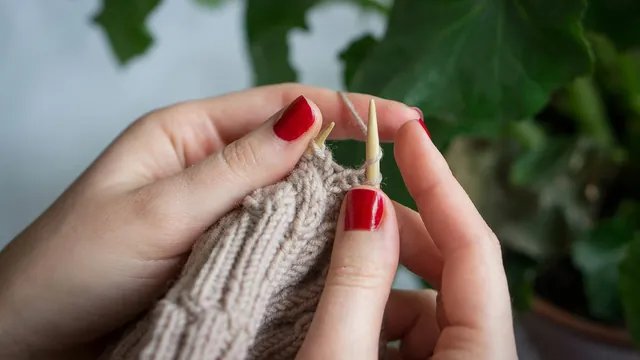
Counting 57 rows from the cast-on is slow and easy to get wrong. Counting five markers and seven rows is not. Clip a removable stitch marker or a safety pin into the edge of the work every 10 rows, and you'll never need to count more than ten at a time.
- Use a second colour for key points, such as where the armhole shaping starts or where a pattern section ends.
- Mark matching pieces the same way. Count the rows of the first sleeve, not just the length, and the second sleeve will match it row for row.
- Leave the markers in until the piece is finished. They cost nothing and save a recount.
Count as you go, or count after?
Counting after, by reading the fabric, always works and is the final word on where you are. But it means stopping, finding good light and concentrating.
Counting as you go, with a row counter, a pencil tally or a marker, means you know your row without stopping. The catch is that you can forget to advance it, and then the number is confidently wrong.
The best habit is both. Advance your counter at the same moment every row, such as when you turn the work, and check it against the fabric each time you place a 10-row marker. If they disagree, trust the fabric and correct the counter.
Common mistakes
- Counting the cast-on as a row. Start counting from the first row of Vs above it.
- Forgetting the row on the needle. It's a row, even though it's not hanging below the needle yet.
- Counting garter ridges as single rows. One ridge is two rows.
- Counting up the edge stitches. Edges are often loose or slipped. Use a column in the middle.
- Advancing the counter at different points in the row. Pick one moment and stick to it.
- Putting the work down mid-row and then counting that row as done. Finish the row, or leave yourself a note of where you stopped.
Count it with Plusmark
A row counter only helps if it never loses your place. Plusmark saves the count with every tap, so it's still there when you pick the project up next week.
- Starter: Rows. It never resets, and each tap adds 1 row.
- One counter per piece: Back, Front, Sleeve, so each keeps its own count.
- Goal: optional, such as 120 rows for the back. Tally marks show how close you are, and big goals use 20 marks, each one a twentieth of the way.
- Hands full? Ask Siri, "Add one to Rows in Plusmark", or "What's my Rows count in Plusmark". On an iPad with a keyboard, Space adds one.
Tapped twice? Undo or Subtract 1 sits right above the pad. If you count the fabric and get a different number, Set Count in Edit Counter lets you type the right one, and History shows when each row was counted, which helps after a long break. Lock Pad stops stray touches while the phone sits in your lap, or you can prop up an iPad on the table.
Plusmark keeps counts, not notes, so keep your pattern open beside it. The row counter guide has the full set-up. Crocheting instead? See how to count crochet stitches and rows, and if your pattern starts with a few hundred stitches, how to count a long cast on.
Count it with Plusmark
Plusmark is the tally counter for iPhone, iPad, iPhone Duo and Apple Watch. Name a counter, tap the big + pad, and every tap is saved with its time, with goals, widgets and Siri.